
Tuesday, 18 October 2011
"Consider negative space"
Focus on the negative space which is the space around what you have drawn or the background. Sketch two or three winter trees overlapping to create interesting shapes between the branches and trunks. Using pencil or watercolour, colour these spaces. With Year 5 or 6 students, you can create a wonderful artwork by choosing sunset colours with watercolour. Paint one shape at a time and use wet-in-wet technique. For example, in the lower shapes paint with yellow and then dab on orange towards the top. Make sure the paint is wet enough to have the colours blend on the page. Moving higher, the colours would be orange to red, red to purple and purple to blue. This abstract effect is quite challenging but the kids will love it!

Monday, 17 October 2011
"Newspaper Christmas trees"
A very cheap and wonderful collaborative activity is to make Christmas trees from newspaper. You need some thin dowel (or similar round wood) about 60 - 70 cm long, lots of newspaper (smaller size) and sticky tape. To make the tubes to construct the tree, carefully roll the newspaper tightly around the dowel beginning on a slight angle, slip this off and secure with sticky tape. As you remove this from the dowel, gently tease it out so it is longer. Create a firm "trunk" by sticking 4 or 5 tubes together. Attach tubes higher and higher and bend out to create branches. Lightly spray with green/gold/silver paint to dust with colour. Students can make decorations from recycled materials if they wish. The students are amazed at what they can create.
"Photocopy artwork to enhance presentation"
I love to use the photocopier! Today I photocopied some artwork and the colours became gorgeous shades of grey. I am going to mount these with the originals on a coloured background, angling each with original in full view. Looks really interesting. Also another great idea is to create a new artwork by cutting the photocopy into puzzle pieces or strips and choosing half to paste onto the original in the correct position. This really captures the audience interest and looks quite sophisticated. Try it!
Sunday, 16 October 2011
"Continuous line and exploring colours" Year 2


Friday, 14 October 2011
"You have permission to flick that paint"
The comments I heard after an art lesson this week were priceless.
"That was the the best art lesson ever!"
"That was SO much fun."
What we did was very simple. The students were creating a whimsical background for their next art project in Year 4 and I "allowed" the students to flick their watercolours on. Using tablet watercolour sets (old as the hills) and plenty of water, they loaded their brushes with colour. This was then flicked on to their work by holding their brush steady with one hand. With the other hand they used their thumb to press down just below the bristles and pointer finger to flick the bristles up. The students simply loved this activity. Another great idea is to use this process to create interesting papers to collage in mixed media artwork or as a background for printing or drawing. I don't know why I haven't done this more often!


Wednesday, 12 October 2011
Set up an "artist's studio"
I had an idea to reward students for their great attitude in art which might appeal and wouldn't cost a cent. Set up an "artist's studio" in the corner of the room where they can earn time to be creative. Here they would have extra space, possibly an easel, access to a broader range of materials etc etc...I haven't tried this yet but will shortly!! I think the students would love it, particularly if you have large classes and not much space.
Tuesday, 11 October 2011
"Exploring lines & taking risks!"


"Use your photos as inspiration!"


Sunday, 9 October 2011
"Photocopy leaves, bottle brush!"
I photocopy leaves and bottle brush onto white or coloured paper. Great to use in mixed media artwork or to paint onto with watercolour. Try using soft pastels also for an interesting effect.
Saturday, 8 October 2011
Recycled "Treasure"
I refer to the recycled materials we use in our artmaking as "treasure". Love it when the students adopt this term also. Each week we focus on the collection of specific "treasure" and have a collection point outside the classroom. Advertised in the school newsletter could be the materials wanted for the week. Examples could be wrapping paper, buttons, meat trays, cans, small boxes, tubes, wool, material offcuts, CD's, ribbon, celophane, calendars, cotton reels, baskets, yoghurt tubs etc etc.... Materials are stored in recycled A4 photocopy paper box with a sample glued on the front for quick recognition. Easy!!!!


Friday, 7 October 2011
"Charcoal, photocopy, watercolour" Year 5


Wednesday, 5 October 2011
Snake Skins & Seaweed!
Great for inspiration is the snake skin in the tray, seaweed on the shelf, shorn wool in the tub and shells in the basket. These materials were all donated or simply found in nature, collected on bushwalks, farm visits and trips to the beach. The students love (and sometimes not!) the feel and smell of this wonderful collection in the room. The snake skin can be used as inspiration for becoming aware of and creating the wonderful patterns in nature. The shells and seaweed just fabulous for observational drawing and mixed media artworks. As for the freshly shorn wool...well it feels really unique!
Tuesday, 4 October 2011
Create a Theme Wall


Why not make a Curiosity Corner?
In my room or the corridor nearby, a great idea is to set up a corner/pin board with all sorts of "curious" things! The kids love it and really look forward to new items appearing. I have displayed all sorts of weird and wonderful photos, visual puzzles (eg: look one way you see a horse & the other way a frog), super cool artwork from pavement artists, accidental photography, images of the earth from space, Uluru in the rain...etc...etc. In class I mention what might have appeared and invite the students to bring in "curious" things they find themselves to display. Lots of fun!


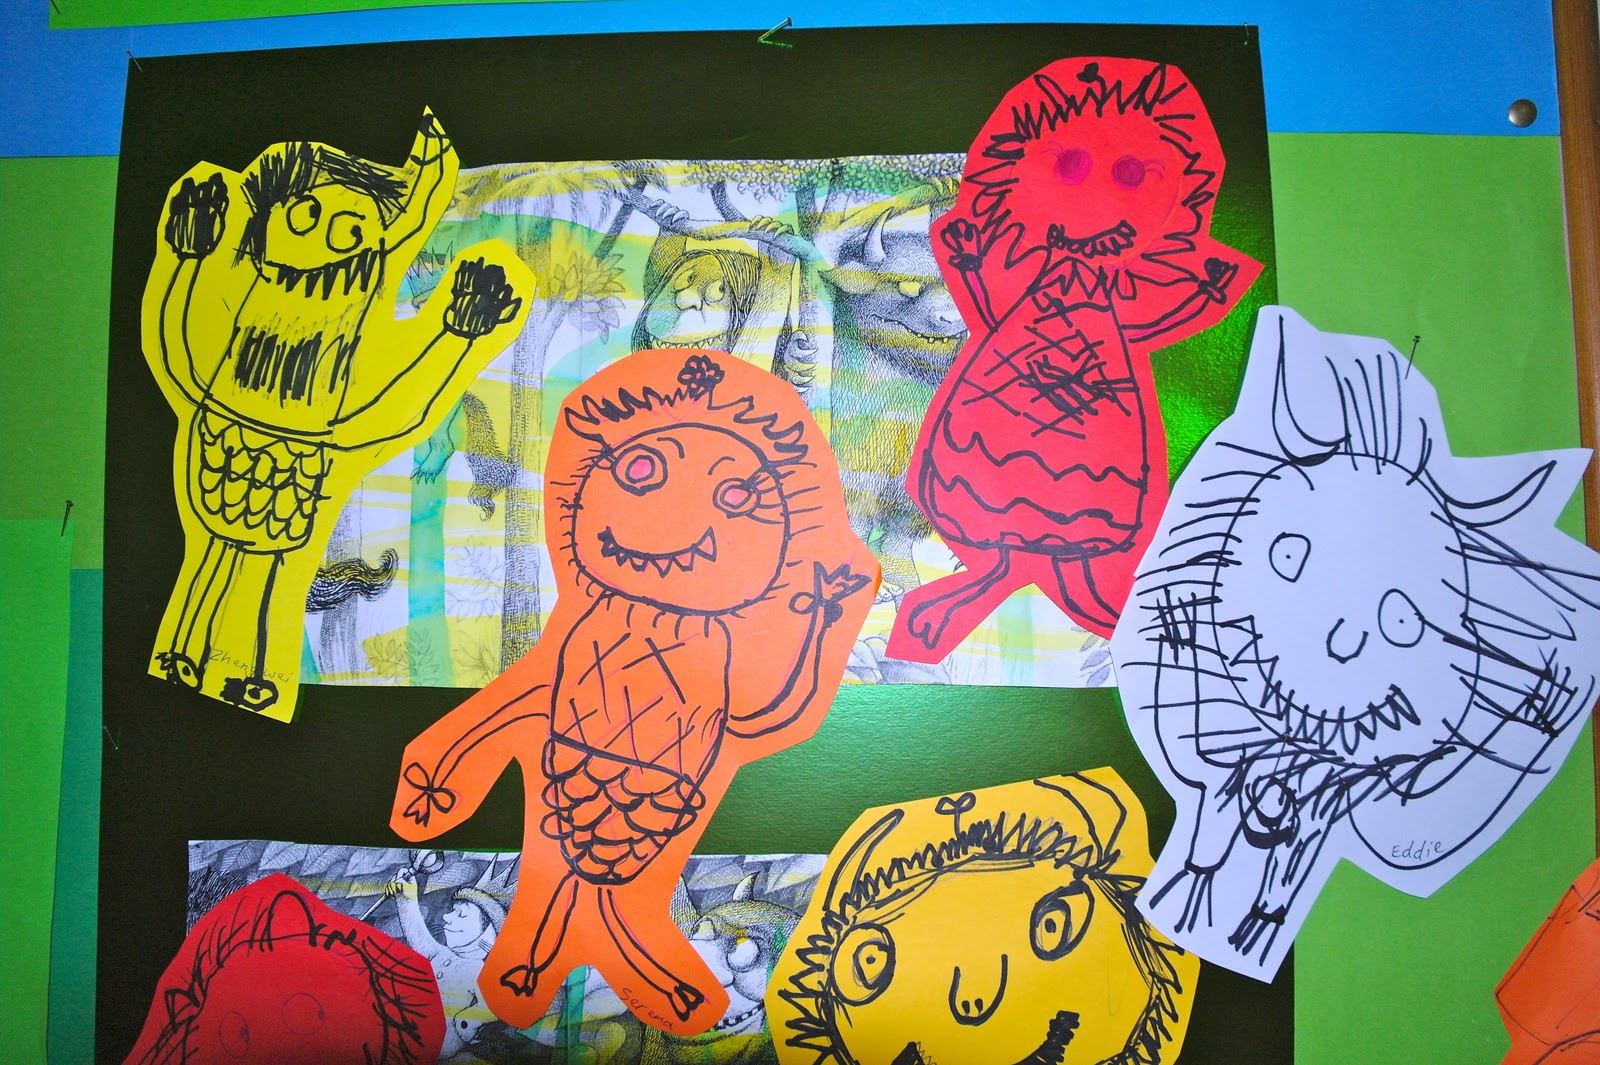
"Wild Things" by Kindergarten
Monday, 3 October 2011
"Japanese Cherry Blossom" Year 6

Mixing colour : Year 1


"Patterns of the Wildflowers" by Kindergarten


Subscribe to:
Comments (Atom)